
It’s the Metal Alternative to the Aeropress That Works Great On Camping Or Backpacking Trips
The Aeropress makes great coffee, but it has its problems. Between the plunger mechanism and the plastic material, some people feel like it can get dicey in the wild and want a simpler, tougher method where they don’t have to literally shove the coffee into their mug.
Not everyone will like this answer, but the alternative is the moka pot.
Moka pots get a little bit of hate for brewing bitter coffee, so you don’t often see them talked about as a good camping option. That’s a shame, because a good moka pot can make a great camping companion for a lot of reasons:
- It’s tough
- It cuts down on waste
- And it makes great coffee if you know how to use it.
If done well, the moka pot is supposed to make something like a cup of espresso, similar to what you get from an Aeropress. The mechanics might look different, but they both use pressure to extract flavor. The problem a lot of people have with moka pot coffee is that they don’t know how to avoid over extracting the grounds, or don’t clean the pot properly after using it so they end up with bits of old grinds in each cup.
A Moka Pot is Not a Percolator or an Espresso Machine
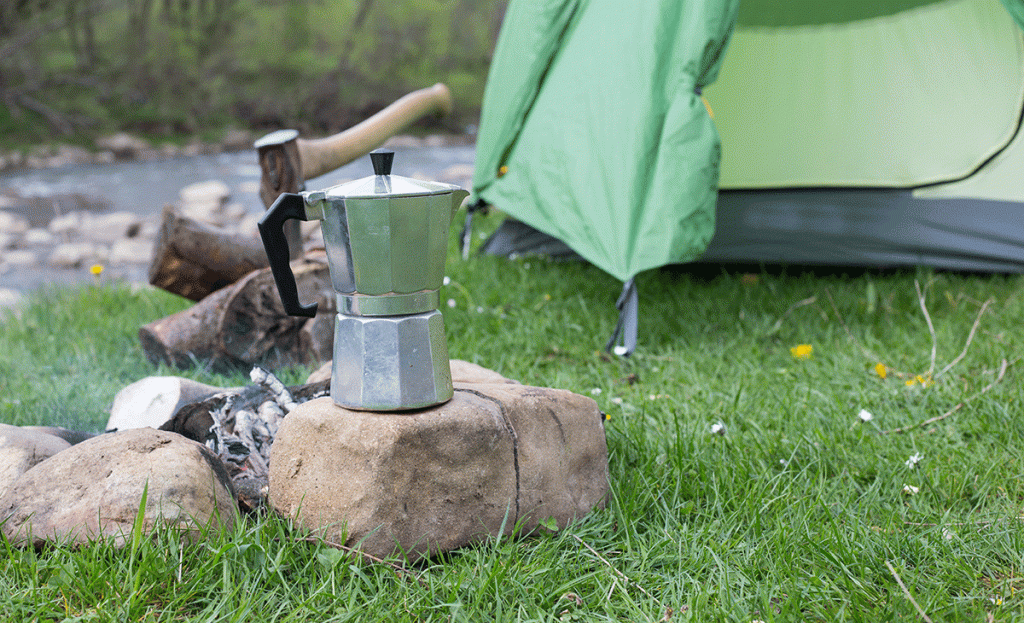
The other problem is with expectation: I’ve seen a few instances where people list moka pots alongside percolators as if they’re the same thing. They are not.
While they both make use of steam to brew coffee, the rest of the process and resulting coffee overall are significantly different.
A moka pot builds up pressure in a water reservoir and pushes the water up through the grounds and into a separate top section once. A percolator steams the grounds and runs water through the coffee multiple times all in one big section.
On the other side, most companies tend to list their moka pots as “stove top espresso makers”. That’s fine for a quick categorization, but they don’t make true espresso. An actual espresso machine exert at least 3 times as much pressure as the simple steam build up of a moka pot, and the outcome is much stronger.
Personal preferences aside, these three methods create very different types and quantities of coffee. The moka pot is more like a reverse Aeropress and makes much thicker coffee where a percolator is more like a very aggressive french press, and espresso is entirely in its own category. We’re not here to tell you which is better. Just know that there is a big difference.
Proper Moka Pot Use
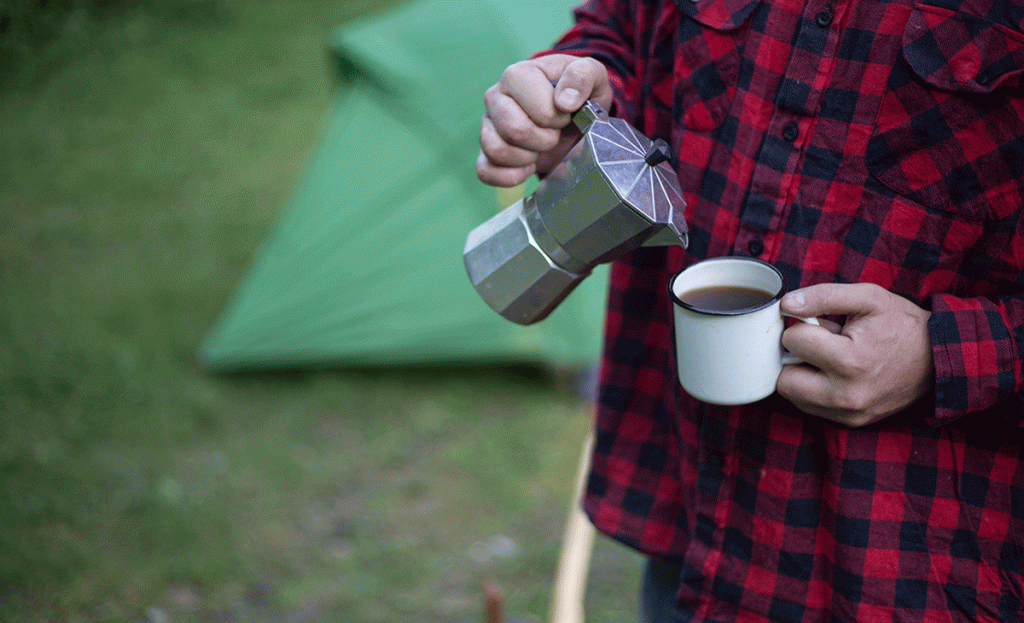
We’ll go through some simple steps for making a decent cup of moka pot coffee, and if we manage to convince you it’s a good idea, we’ll recommend a few different moka pots for you to try out on your next camping trip.
Use a Medium Grind and Don’t Tamp it in
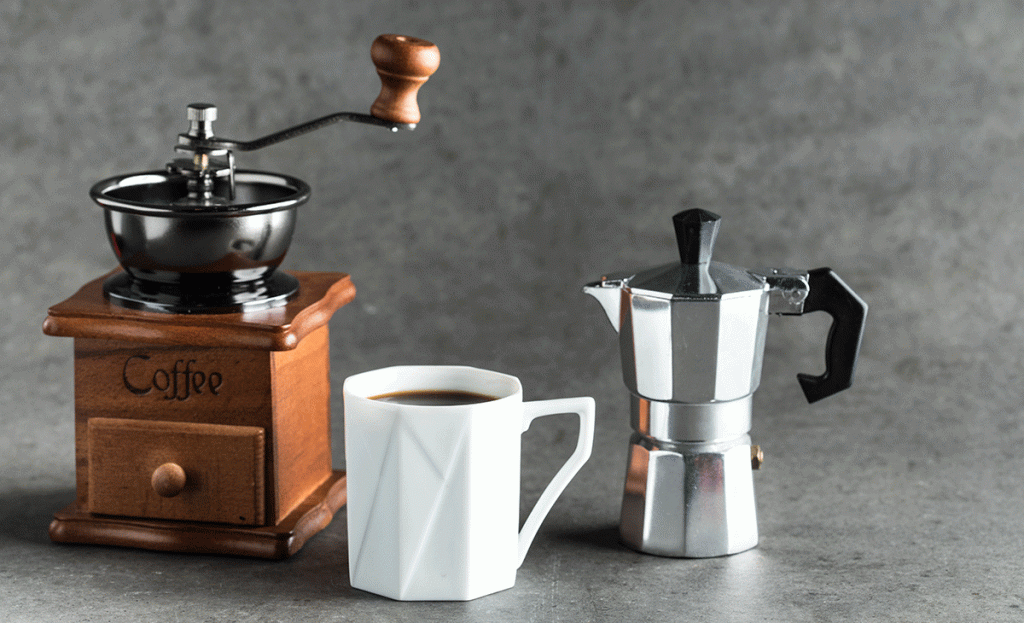
Or a little finer. Mainly you just don’t want to use an espresso grind.
There are a couple reasons for this:
First is that you’ll end up over extracting the grounds. The moka pot uses a pretty aggressive method to brew the coffee. It’s supposed to build up enough pressure in the water reservoir to actually push the water up through the grounds and into the top section. You really don’t need to maximize the ratio of water to surface area of the bean to get a strong flavor. The perfect grind depends on what kind of coffee you’re using, but you’re aiming for something finer than what you’d use for a pour over or a little coarser than an espresso grind.
Second, if the grind is too fine and then you tamp it down, you make it harder for the water to push through. Remember this whole thing is driven by heat and pressure. The harder it is for water to up through those grounds, the more pressure will build up in the water reservoir.
I’ve never heard of a moka pot exploding, but you don’t want to be the first to do it, especially if you’re using it in the wilderness several miles from a hospital. Plus it will make the coffee bitter as we mentioned before.
Heat the Water First
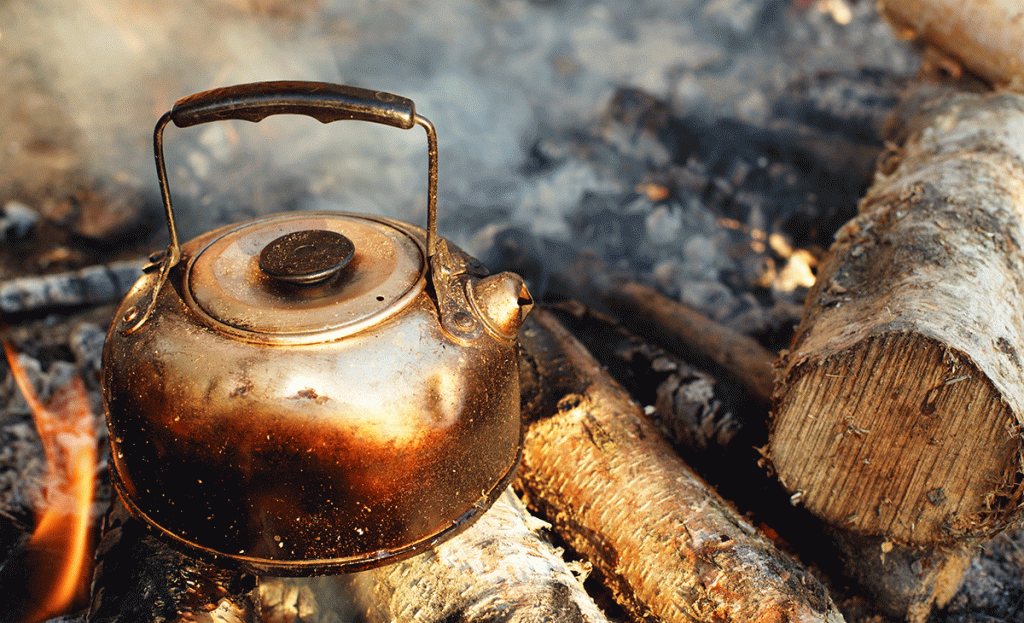
This is one of the big areas where people go wrong. If you put the whole thing, coffee, cold or tepid water, and all on heat at the same time you start cooking the coffee a little before it gets a chance to be brewed. This will make the resulting cup lose some body and possibly contribute to a bitter taste.
To avoid this you can either heat water up in a separate container then pour it in the moka pot and put it together to finish its process, or you can fill the moka pot’s reservoir and set it on heat by itself until it gets warm, and then connect the top to it.
Just make sure the whole pot is put together before the water starts boiling, and have some kind of hot pad or towel to handle the pot with because it’s going to be hot.
The Hiss Means Take it Off the Heat
This actually goes for the Aeropress too:
When you hear the hissing, the brewing needs to stop.
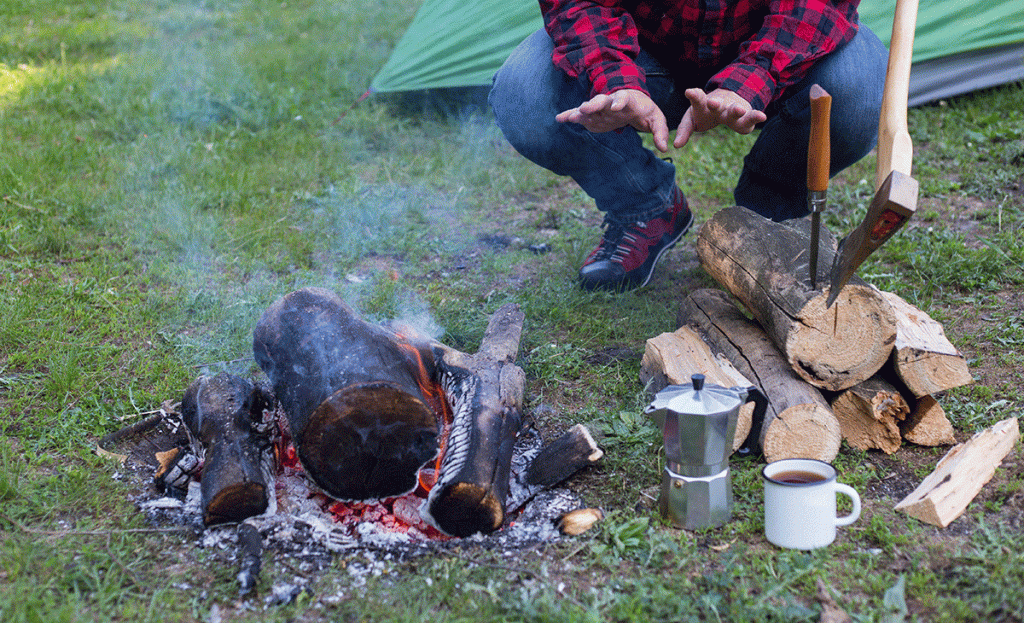
Have some water on hand to either pour on the bottom part of the moka pot or to actually dip the pot into so it cools quickly and stops brewing. This is where camping next to a river or creek comes in really handy.
The reason is that the hissing sound means the last of the oils in the beans are getting ripped out by the ends of the water and pressure. The dregs, you might say. This will almost always make your coffee more bitter and astringent. Some people say they don’t taste the difference between letting it sit through the hiss and not letting it sit. If those people are happy with their coffee, that’s perfectly fine. If your coffee is coming out too bitter, though, try taking it off the heat a little sooner.
Always Clean the Moka Pot
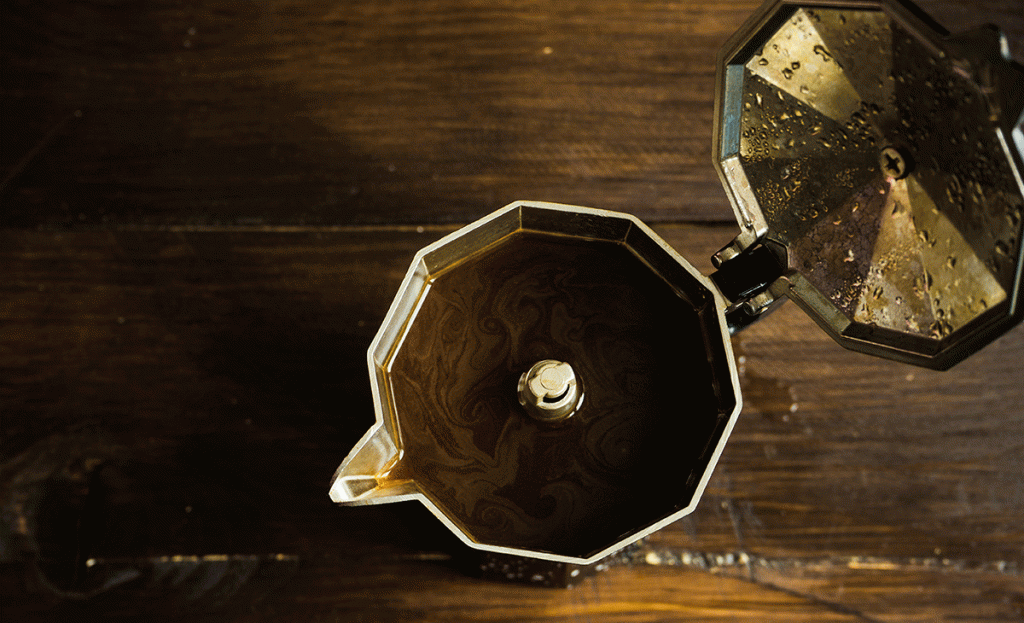
You might have heard some people say you’re not supposed to clean a moka pot. They talk about it like it’s a cast iron skillet, and the old coffee that gets in the seams actually improves the flavor over time.
That doesn’t make any damn sense. That’s old coffee. It’s only going to give you an old rancid coffee flavor.
So make sure you clean the pot. When you’re camping you can just rinse the places where the bottom screws to the top and wipe it all down a little. A few days without a thorough cleaning won’t be enough to mess with the flavor of later brews much. But when you get home, you might even want to just fill it with water and let it run without any coffee so it can clean itself from the inside.
The Best Moka Pots for Camping
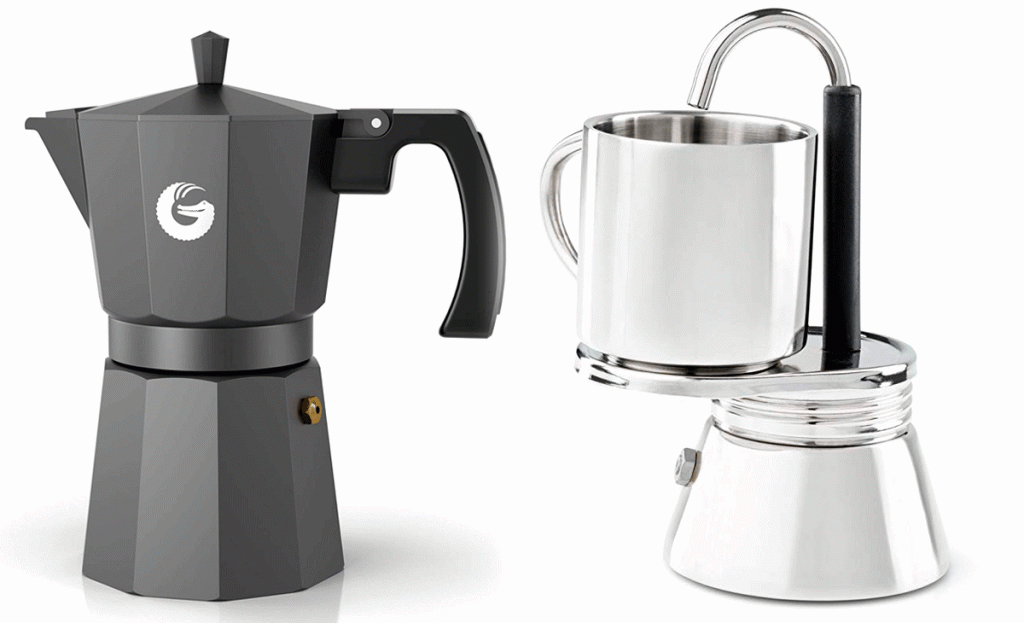
I want to be clear that these are not strictly just “the best moka pots money can buy”. There’s a whole world of crazy electrical things and other cool contraptions. But we’re concerned with camping specifically, so I prioritize durability and weight over the actual quality of the brew. That said, most of these still make a good cup of kind-of espresso.
Bialetti Moka Express
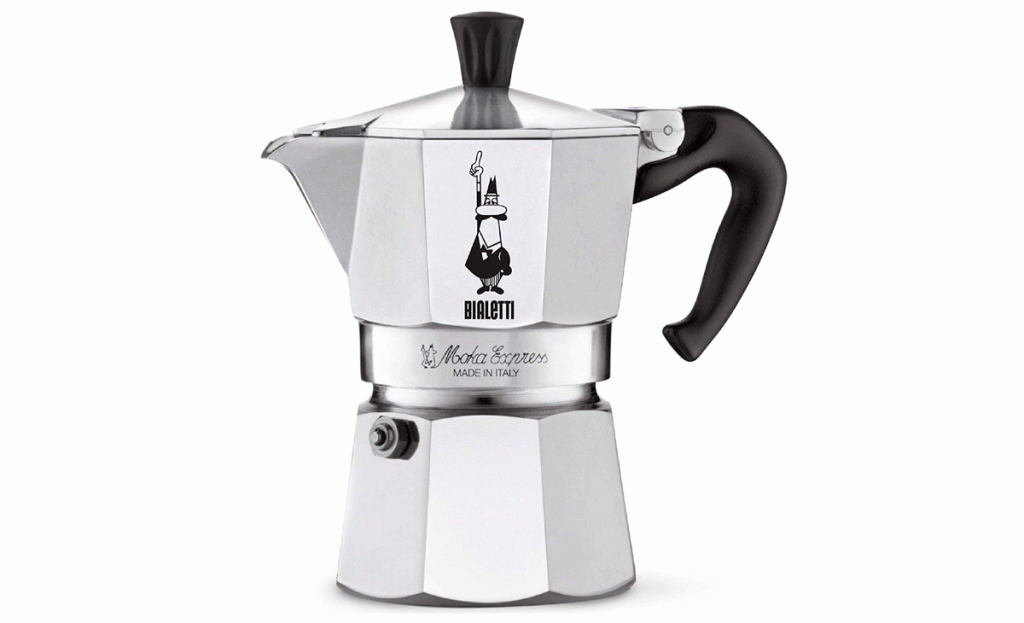
- Material: Polished aluminum
- Capacity: 1-cup to 12-cup
- Price: $
This is the original moka pot, more or less. It’s at least a modern update by the original moka pot company. It’s the safest option out there though. This is a long established product. Plenty of people have been using and standing by Bialetti for decades.
The 1 Cup version is the smallest moka pot that Bialetti makes. While I wouldn’t generally recommend any moka pot for backpacking, this is what you’d want if you just have to have a moka pot with you for some reason. On the other side, it can get as large as 12 cups, which is great if you’re camping in large groups.
Cuisinox Stovetop Moka Espresso Maker
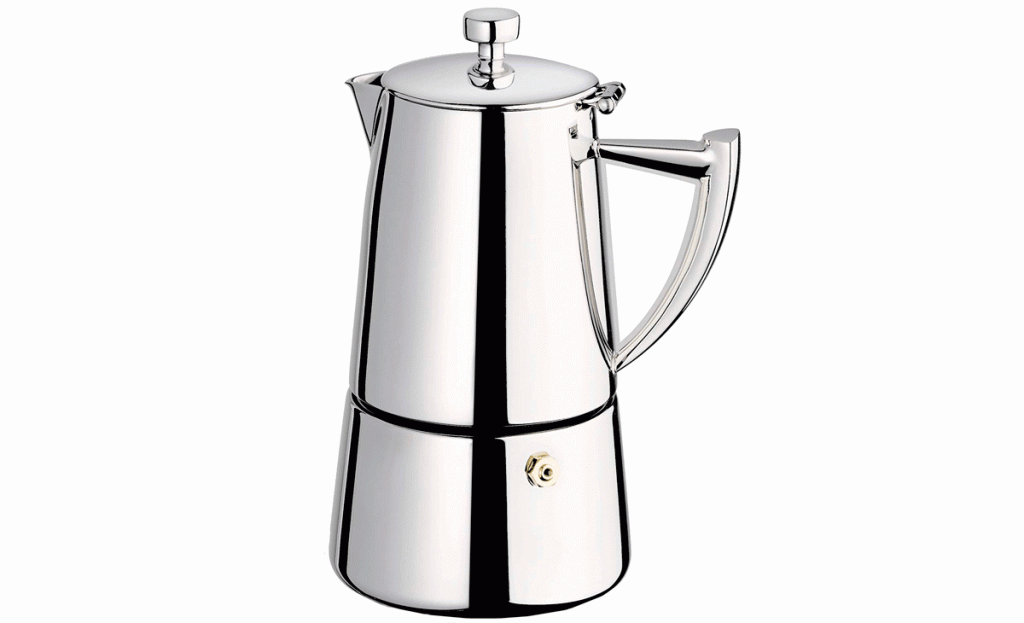
- Material: 18/8 stainless steel
- Capacity: 4-cup to 12-cup
- Price: $$$
If you want a stronger material than aluminum, Cuisinox stuff is the way to go. Their all-steel moka pots should be significantly tougher than the Bialetti stuff, but you’ll be adding a lot of weight with that durability, so this isn’t something you’ll want to take hiking with you.
The price also shoots up pretty high over the Moka Express line. It’s a long term investment; these things last a long time, and as far as rough wilderness goes, these should come home without a dent. As far as I can find, they don’t make anything smaller than 4-cup moka pots, so this is very much a large group option.
Ilsa Turbo
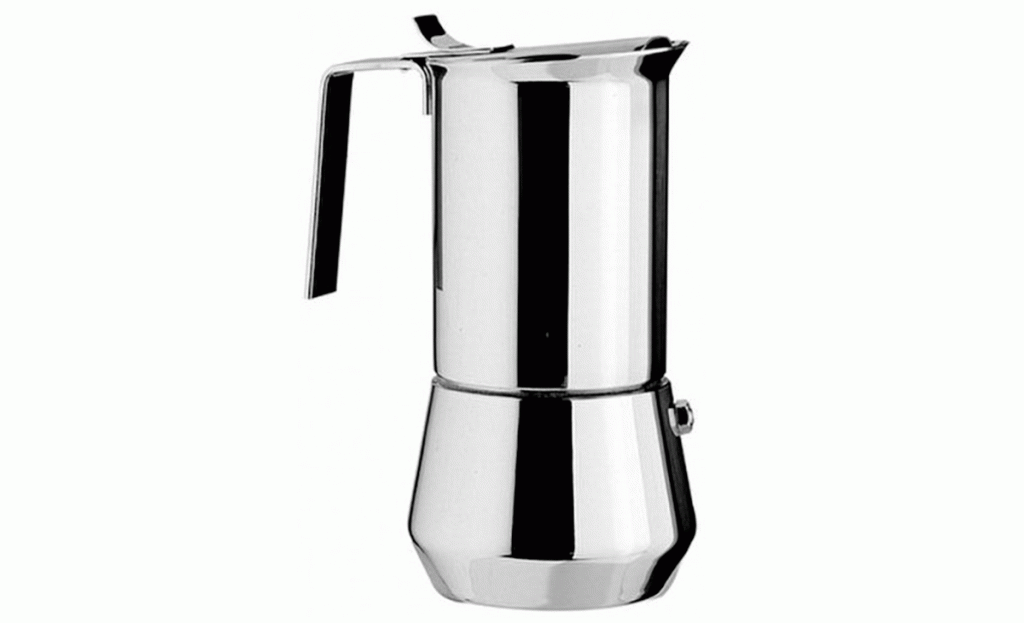
- Material: Stainless steel
- Capacity: 1-cup
- Price level: $$$
Ilsa makes three other sizes, but the Ilsa Turbo is plenty if you’re on your own. This is one of the better options for backpacking (at least as far as any stovetop espresso maker is good for backpacking) thanks to the smaller size. It will be a little less stable than the 1-cup version of the Bialetti Moka Express. It’s also about double the price for the same 2.5 oz size, but hat’s often the compromise you have to take if you want to get stainless steel over aluminum.
Coffee Gator Espresso Moka Pot
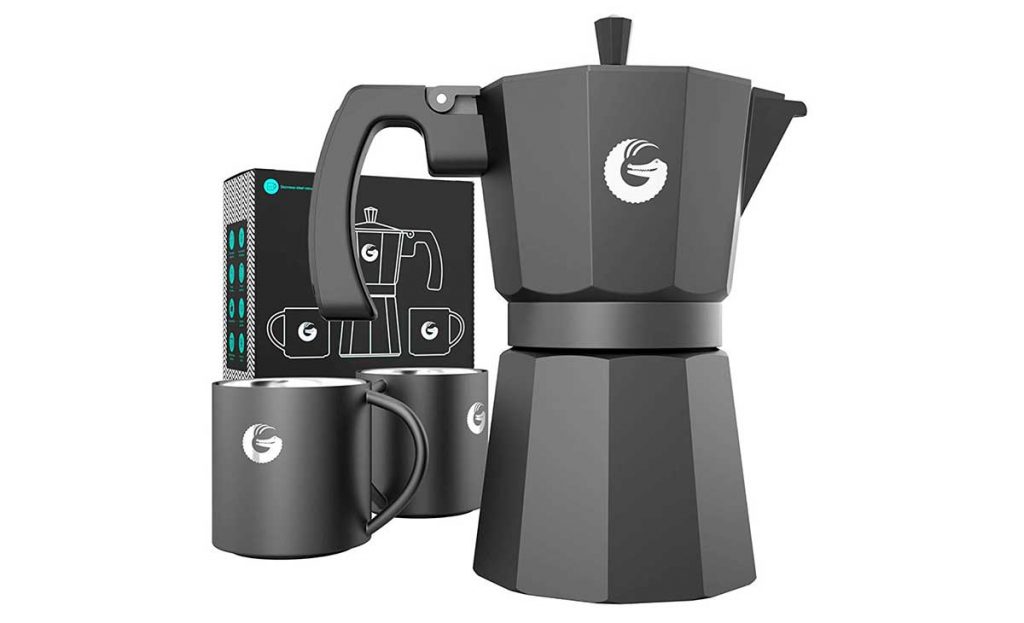
- Material: Cast aluminum
- Size: 6-cup
- Price level: $
This is more of an all-in-one solution. It comes with two 3 oz cups, though. The all stainless steel espresso-sized cups are great for camping.
Other than that it’s essentially the same design as the Bialetti moka pots, just with some modernized branding. The matte gray coloring and printed logo give it an unfortunate sports drink look, but it’s made well regardless, and it’s on the lower end of the price range. What’s good about that clean branding is that it’s the sign of a company that’s very concerned with how we perceive it, and that almost always means their customer service is spot on.
GSI outdoors 1-Cup Stainless Mini Espresso Maker
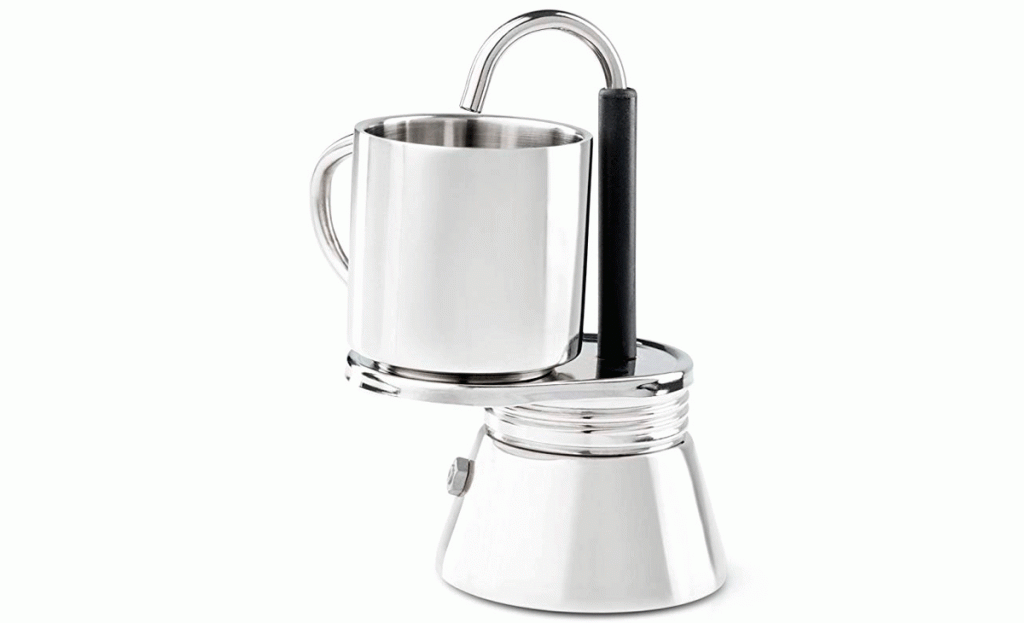
- Material: Stainless steel
- Capacity: 2.5 fl oz.
- Weight: 8.2 oz
- Price level: $
This is such a stripped down product that it might not be technically accurate to call it a moka pot. Its brewing method follows the same principle though: You fill up the water reservoir, heat it up, and the steam pressure pushes the water up through the grounds into a separate top section.
The important difference is that you need to have your cup ready under the spout as it brews.
This will probably not make the best cup of coffee you’ve ever had, but that’s not really its purpose. This is about as small and light as you can get with any kind of coffee maker without resorting to instant coffee.

